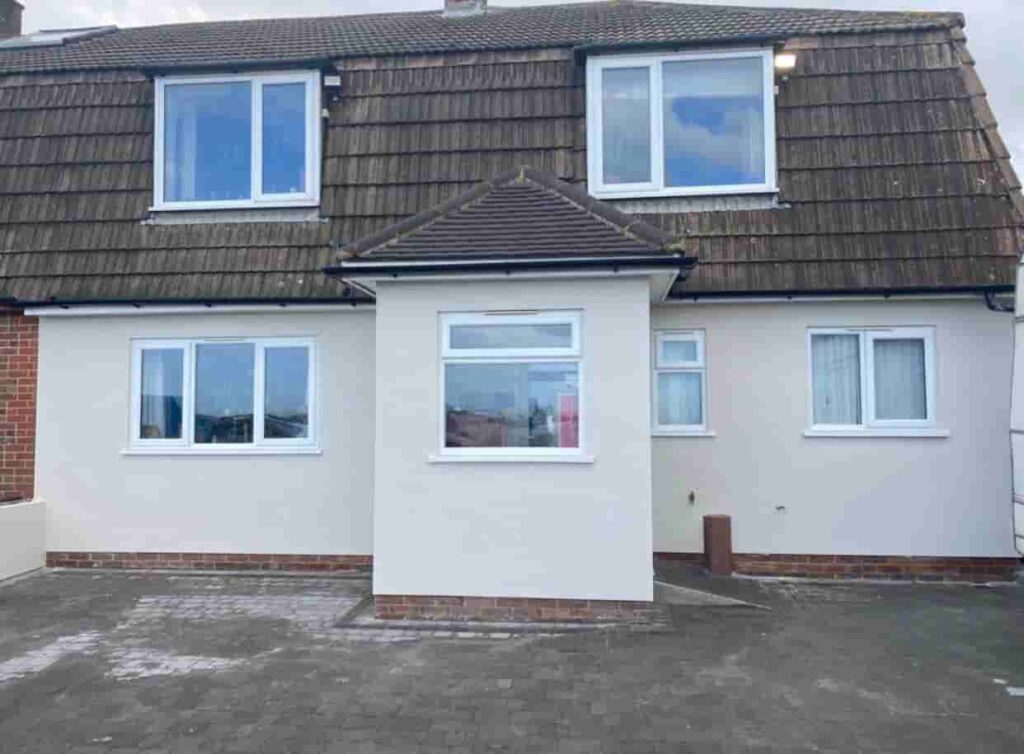
Introduction: Chimneys add character and functionality to homes with gable roofs. However, they also present a common challenge – the need for adequate flashing to prevent water infiltration and potential damage to your roof and interior. In this blog post, Stapleford Roofing Repairs will guide you through fixing gable roofs flashing around chimneys, ensuring that your home remains dry and secure.
Understanding the Importance of Roof Flashing
Roof flashing is a protective barrier installed around vulnerable areas of your roof, such as chimneys, vents, skylights, and dormers. Its primary purpose is to divert rainwater away from these areas, preventing leaks and water damage. Flashing is typically made from materials like metal (copper, aluminium, or galvanised steel) or synthetic rubber, and it should be properly installed and maintained to ensure its effectiveness.
Signs of Flashing Problems
Before diving into the repair process, it’s crucial to identify potential flashing issues. Common signs of flashing problems around chimneys include:
- Water Stains: Water stains on your ceilings or walls near the chimney can indicate flashing leaks.
- Deterioration: It may need replacement if you notice visible deterioration or corrosion of the existing flashing material.
- Loose Flashing: Flashing that is loose or detached from the chimney or roof surface is a clear sign of trouble.
- Missing Flashing: In some cases, flashing may be entirely missing, leaving your roof vulnerable to leaks.
Fixing Gable Roof Flashing Around Chimneys
Here’s a step-by-step guide to fixing gable roof flashing around chimneys:
- Safety First: Always prioritise safety. Ensure you have proper roofing equipment, and if you’re not comfortable working at heights, consider hiring a professional like Stapleford Roofing Repairs.
- Inspect the Flashing: Start by inspecting the existing flashing around the chimney. Determine whether it can be repaired or needs replacement.
- Remove Old Flashing: If the existing flashing is damaged or deteriorated, remove it using a pry bar or similar tool. During this process, be cautious not to damage the roofing material or chimney structure.
- Clean the Area: Thoroughly clean the area where the new flashing will be installed. Remove any debris, nails, or old sealant.
- Measure and Cut Flashing: Measure the dimensions of the chimney and cut the new flashing material accordingly. Ensure it is large enough to extend at least 6 inches up the chimney and onto the roof surface.
- Install Step Flashing: Install step flashing along the sides of the chimney, starting from the bottom and working your way up. Each piece of step flashing should overlap the one below it. Attach the step flashing to the chimney using roofing nails or screws.
- Counterflashing Installation: After installing the step flashing, add counterflashing. This piece of flashing is inserted into a groove cut into the chimney’s mortar joints. Seal it with a quality roofing sealant to ensure a watertight connection.
- Seal Joints and Seams: Seal all joints, seams, and nail/screw heads with roofing sealant. This step is crucial to prevent water from seeping through.
- Inspect and Test: Inspect the repaired flashing for gaps or loose areas. To ensure its effectiveness, perform a water test by gently spraying the chimney area with a hose.
- Routine Maintenance: Regularly inspect and maintain the chimney flashing to catch potential issues early and prevent leaks.
Conclusion: Fixing gable roof flashing around chimneys is critical to roof maintenance. By following these steps and taking a proactive approach to flash repair and replacement, you can protect your home from water damage and ensure the longevity of your gable roof. If you’re unsure about your DIY skills or encounter complex issues, it’s wise to consult professionals like Stapleford Roofing Repairs for expert assistance.
Call us on: 0115 647 1193
Click here to find out more about Stapleford Roofing Repairs
Click here to complete our contact form and see how we can help with your roofing needs.

